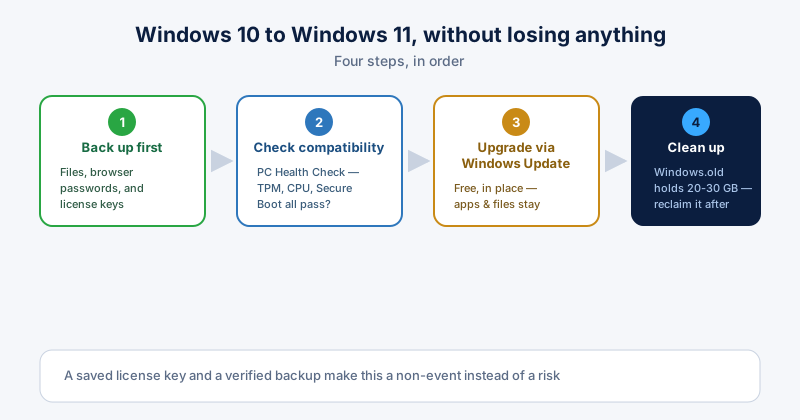
With Windows 10 past its support date, more people are finally making the jump to Windows 11. Done right, the upgrade keeps your files, apps, and settings intact — but "done right" means backing up first and knowing what actually changes.
Before you upgrade: back up first
- Your files — an external drive or cloud backup, not just the same internal disk
- Browser passwords and bookmarks, in case a sync profile doesn't carry over cleanly
- Any software license keys you'd need to reinstall paid programs
An in-place upgrade rarely loses anything, but 'rarely' isn't the same as 'never' — a backup turns a bad upgrade from a disaster into an inconvenience.
Check compatibility first
Run Microsoft's PC Health Check app before you start. If it flags TPM 2.0 or Secure Boot, our guide on fixing the Windows 11 compatibility check covers the BIOS settings that resolve it for most PCs.
What actually changes on Windows 11
- The taskbar is centered by default and some right-click options move into a "Show more options" submenu
- Settings reorganizes several menus that were in Control Panel on Windows 10
- File Explorer gets a new layout with tabs
- Everything else — your installed apps, files, and most settings — carries over as-is
The upgrade itself
- Go to Settings > Windows Update and check for updates.
- If eligible, "Upgrade to Windows 11 is ready" appears — select it.
- Let it download and install; the PC will restart one or more times.
- Sign back in — your desktop, files, and apps should be exactly where you left them.
After upgrading: what to check
- Confirm paid software still recognizes its license after the upgrade
- Check that saved browser passwords are still there
- Clean up the Windows.old folder Windows leaves behind — it holds a full copy of your previous install and 20-30 GB you can reclaim once you're confident everything works
That last step is easy to forget and the easiest win: Windows.old sits there using space until you either wait out the automatic 10-day cleanup or clear it yourself.